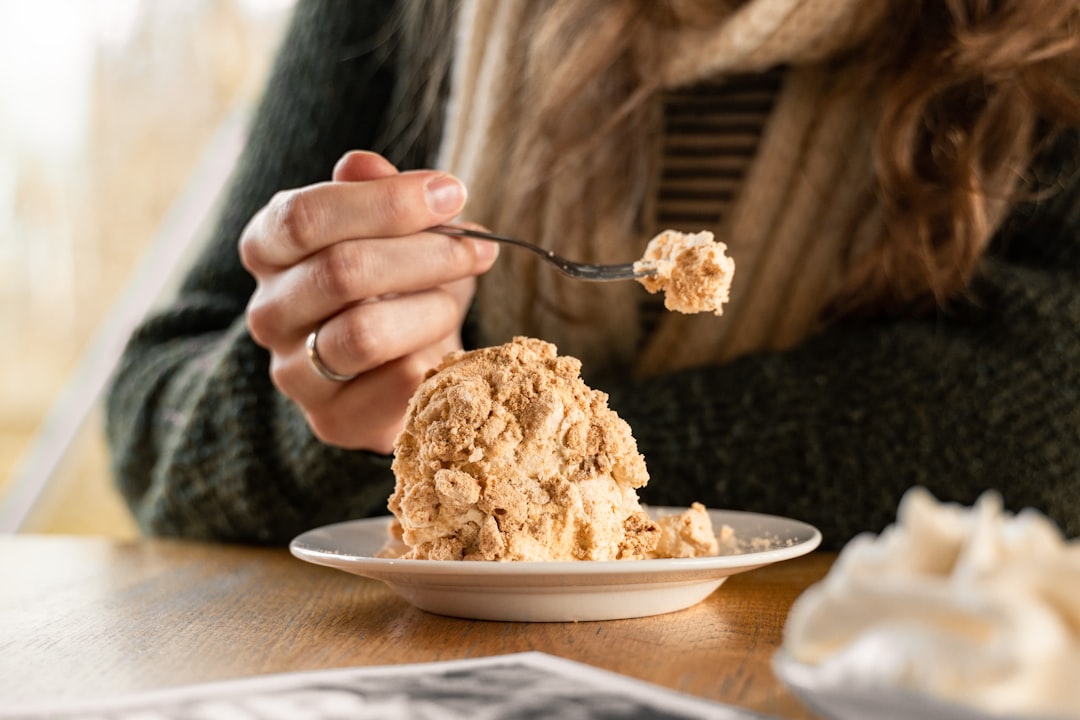
Homemade ice cream is one of those rare kitchen achievements that looks difficult but is actually very simple once you understand why each step matters. Across cultures and climates, home cooks from Tokyo to Tunis produce creamy, scoopable frozen dessert using only a bowl, a whisk, and a standard freezer. This guide gives you the science, the method, and the practical tips to get it right on the first try.
Why homemade ice cream works without a machine
Most people believe that a machine is necessary to produce smooth, creamy frozen dessert. The machine’s main job is to move the mixture constantly during freezing. This motion keeps ice crystals very small and adds air to the base.
The no-churn method solves these 2 problems before the mixture ever reaches the freezer. Whipping cream to stiff peaks creates a stable, airy foam, and this trapped air is what gives the finished product its volume and prevents it from freezing into a dense, solid block.

The high sugar and milk solids content in sweetened condensed milk act as a natural barrier. Sugar molecules physically obstruct water molecules from forming large, rigid ice crystals, and the fat from the cream coats the tiny crystals that do form, keeping them separate and ensuring a smooth result.
Understanding this science makes every step feel logical rather than arbitrary.
The 2 core ingredients for great texture
Sweetened condensed milk is thick, sweet, and syrupy, and it is the key ingredient to making rich, creamy homemade ice cream without a machine. Do not replace it with evaporated milk. Evaporated milk has a runnier consistency and lacks the sugar needed to create a creamy result rather than an icy one.

Look for heavy whipping cream or heavy cream. The fat content needs to be at least 36% for the cream to whip properly. Light cream will not form the stable peaks the recipe requires.
A small pinch of sea salt brings out the flavor and balances the sweetness of the finished ice cream. This small addition makes a clear difference in the final taste.
How to whip and fold for the best homemade ice cream
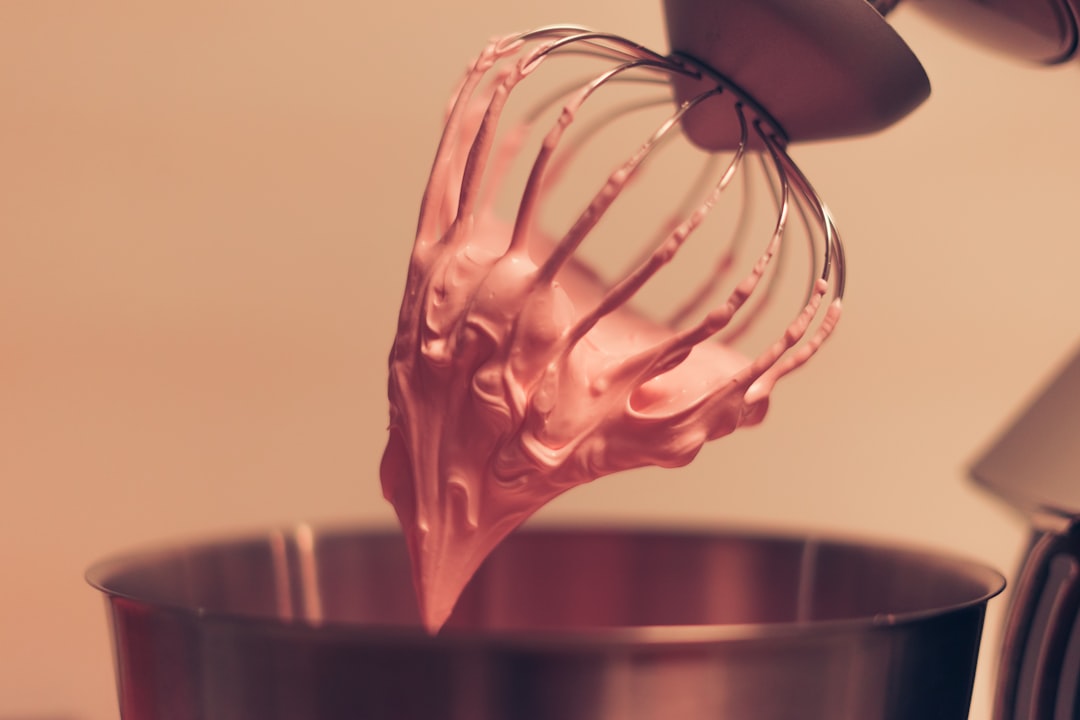
The whipping and folding steps directly control the texture of the finished product. Start with very cold cream and, if possible, a cold metal bowl. The cream must be very cold before whipping. If you have difficulty reaching stiff peaks, try using a metal bowl and freezing it for 15 minutes before you start.
Whip the cream until stiff peaks form. Then gently fold the whipped cream into the sweetened condensed milk and vanilla. Do this in several small additions to keep the mixture light and airy.
To add flavorings or mix-ins, use a spatula and fold them in carefully to avoid deflating the batter too much. Aggressive stirring collapses the air structure you have built and produces a denser, less pleasant result.






Expert perspective on freezing and crystal control
The structure of a no-churn ice cream base is surprisingly sophisticated. When you whip cream and fold it into sweetened condensed milk, you are creating a viscoelastic foam that resists both collapse and ice crystal growth during freezing. The sugar in the condensed milk lowers the effective freezing point of the water in the mixture, so a portion of that water stays liquid even at typical freezer temperatures. This is what gives the ice cream its scoopable quality rather than a rock-hard frozen block. The fat molecules coat individual ice crystals and prevent them from bonding together into large, coarse structures. The result is a product that is genuinely smooth at the microscopic level, which is exactly what you taste as creaminess. Control the whipping stage carefully, fold gently, and freeze in a shallow metal container to speed the initial set.
Industry perspective, food science and frozen dessert professionals
Freezing, storage, and avoiding ice crystals
It is important to freeze the ice cream mixture as quickly as possible to prevent ice crystals from forming. A shallow metal container works better than a deep glass one because metal conducts cold more efficiently. A metal bread pan helps the homemade ice cream set faster than a glass or ceramic pan.
Line the top of the ice cream with a piece of parchment paper before you close the container. This prevents ice from forming on the surface. Then cover with a lid or plastic wrap and transfer to the freezer for at least 6 hours, or preferably overnight.
Ice cream made without a machine will freeze to a firm consistency after a day or more in the freezer. It will thaw nicely at room temperature after 10 to 15 minutes and will be perfectly scoopable. Store the container at the back of the freezer where the temperature is most stable.
Global flavor ideas to personalize your batch
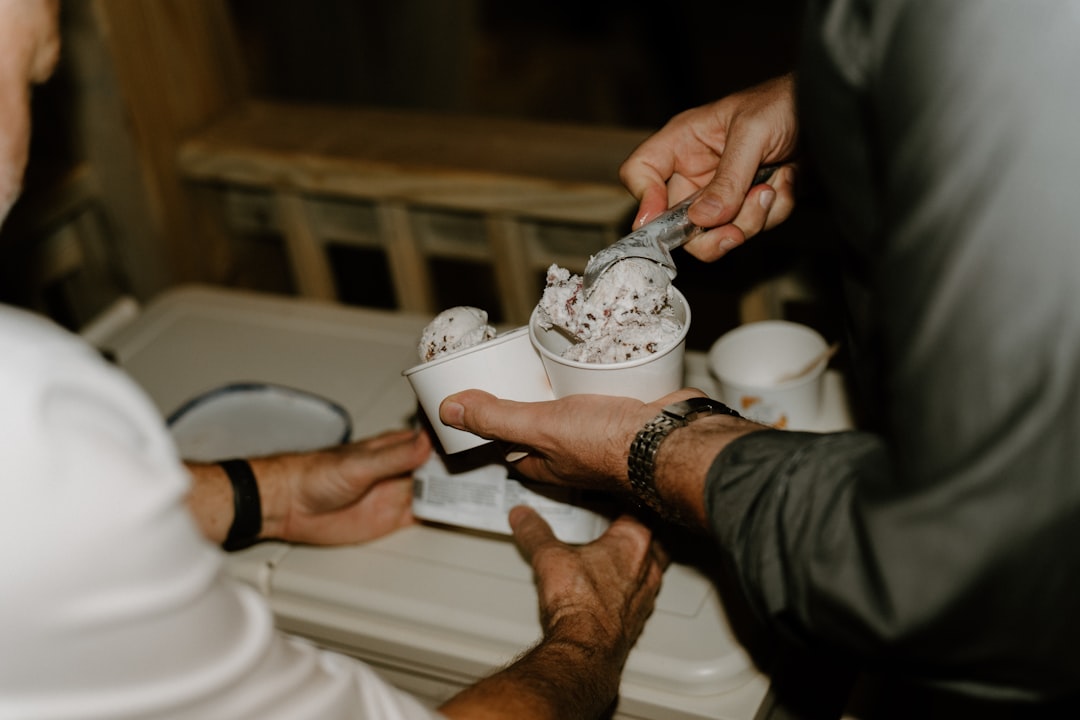
One of the greatest advantages of making homemade ice cream at home is the freedom to use local and seasonal ingredients. Across Asia, home cooks fold in matcha powder, black sesame paste, or mango puree. In Latin America, dulce de leche, passion fruit, or coconut are popular additions. In Europe, espresso, pistachio, and fruit compotes appear in home kitchens regularly.
Many no-churn recipes use sweetened condensed milk for body and sweetness, a pinch of salt for balance, and some form of extract. Cocoa powder, pureed fruit, and syrups are also common flavorings.
Keep additions to a reasonable volume and fold them in gently at the end. Liquid additions can affect texture, so use concentrated flavors such as pastes, extracts, and purees rather than thin juices.

Make homemade ice cream your own standard recipe
Homemade ice cream without a machine is a skill that delivers results every time you apply the method correctly. The focus is always the same: cold cream whipped to stable peaks, sweetened condensed milk for structure and flavor, gentle folding to preserve air, and a fast initial freeze in a shallow metal container.
Once you understand these principles, homemade ice cream becomes a reliable part of your cooking. You can change the flavor in every batch and adapt the base to local ingredients anywhere in the world. Try the basic vanilla version first, then experiment with flavors from your own food culture. Share your results and inspire others to make homemade ice cream at home, because this is one kitchen skill worth passing on.
Discover more about homemade ice cream
- The Science of Ice Cream, RSC Education
- A Physicist’s Guide to Ice Cream, Physics World
- Plant-Based Frozen Dessert Research, PMC / National Institutes of Health